
After a few weeks of running here and there to solve things and prepare for the summer holiday, I finally found time to spend in my garden, with a cup of coffee and some cookies. And it was the perfect occasion to use one of my latest creations – an old ammo box that I’ve turned into a fancy tray.
Actually, I’d call it “a tray on heels”. Keep reading to see why!
I’m talking about how to turn an old wooden box into a tray. This is one of those projects that I love doing because DIY meets paint, and they work together to give a new life to old items like this ammo box.

I was just throwing it away from one corner to another till I realized that it’s perfect for what I had in mind.
What You Need for the Project
I think that you can easily use any other wooden box that is wide enough to carry a cup of coffee (or two), and some cookies or a couple of glasses with whatever you like to drink in the garden, for example.
Second, get some paint in the desired color as a basic color for your tray, and a brush. I used ivory chalk paint for this project, as you see below. Talking about paint, you’ll also need an accent color – a small quantity of acrylic paint or even a Sharpie or a permanent marker. A touch of varnish to protect the words you’ll paint inside the tray will also be needed (spray varnish will work just fine.)
 You will also need two holders to place on two sides, and four legs – and here you can improvise like I did. First, I choose some metal furniture knobs that I intended to spray paint in the same color as the holders, but I was not happy with the look. Then I thought about wine corks, but they looked too thick and tall for my tray, so I gave them up too. I put the project on hold for a few days, because I didn’t know what else to choose for legs at the moment. One morning, I broke a necklace by mistake, and the beads looked so perfect for the job that I took four of them and turned them into legs for my tray.
My tray has a funny quote inside about the importance of coffee in my daily routine. I bet that a lot of people hear me! You can easily make your own quotes, using different combination of fonts – like Moon Flower for the thin letters and Brusher for the thick word. Or you could download the quote that you see in the pictures along with other three about…coffee, of course, from HERE. Print it, and use carbon paper to transfer the quote on the tray, so you could paint it later.
So let’s recap:
- wooden box (mine was 10-in x 12-in)
- paint – two colors
- two holders and four legs, along with proper screws
- printed quote
- carbon paper
So, let’s get to work!
How to Do It
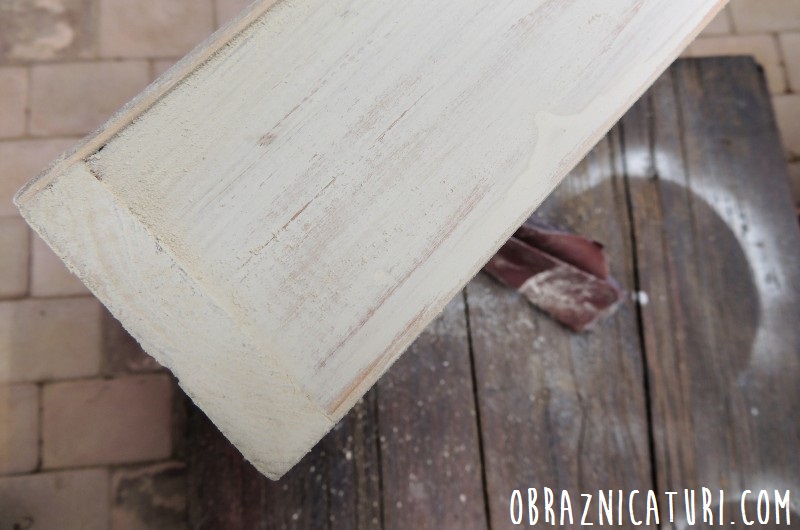
First, clean and sand the wooden box, to prepare it for painting. Then cover it in paint (two coats of paint, for this project) and let it dry. Since I used chalk paint, I sanded it after drying too, I order to distress it, but not too much.
 After painting, I had to attach the legs and the holders. For holders, choose the shorter sides and mark the middle on each of them, to make the holes (I needed only one hole for each holder, so it was right in the middle of the laterals.) The hubby gave a helping hand here, so it was him drilling the holes in the following picture.
 Attach the holders on the sides, then make another four holes in the tray, pretty close to the corners, for the legs.
 Painting the Quote on the Tray
Another difficult choice I had to make beside choosing the legs, was related to the quote that was supposed to be painted inside the tray. Definitely, it had to be about coffee, and it had to be vintage. Then the things got complicated when choosing the fonts, and the quote itself: “Life begins after coffee”, or “It’s coffee time”. Or maybe “Current mood: coffee”, or “Coffee it’s all I need to survive”…
 Once you make your choice about the quote, you need carbon paper for transferring it on the tray.
 Then you start painting…
 Let it dry, add a coat of varnish, and here it is!

 It’s a fancy tray that used to be an ammo box. You can highlight the edges of the thick letter by adding a darker accent, just before applying the coat of varnish, but it’s not mandatory to do so.
 What I love the most about this project is that it has a vintage look but new at the same time. It’s really comfortable to use it for carrying coffee and treats, and also is very stable, considering the four legs that it has. Also, it won’t scratch any surface it’s put on since the legs are round and shiny.
As for the quote, It’s definitely the best for me: there’s no life before coffee!
If you like this project, use the social icons to share it with your friends, and subscribe to join my list and be the first who gets my DIY projects and ideas!
[mc4wp_form id=”604″]

I like your poppy lampshade better than ikeas. I dont have anywhere to hang a lamp but you gave me the idea to use on other lampshades! Thanks!
Ikea is fine, but diy is better! Thank you for liking it 🙂
Ma bucur de cite ori primesc e mails de la dv. Keep on sending them!
Ma bucur ori de cate ori trezesc interesul cuiva cu articolele mele. Keep on reading them! 🙂 Si multumesc pentru apreciere!
Gabi that is the cutest little tray I have ever seen! Those legs really make it look so special. And the handles are the perfect accompaniment to the legs. The stenciling in red no less is also spot on. Ahh but those legs…. Gabi, those legs!!!
Yeah, those legs make all the fun! I’m happy you like them too, thank you, Mary 🙂
Gabi, really cute idea! I love such upcycling projects when you divert the waste from landfills and creat useful things out of it! Saving it for future references!
Nadia, I’m happy to stopped by! I love upcycling, and hope to give ideas to other people who love this kind of projects too 🙂 Thank you!